
Last updated November 21, 2026
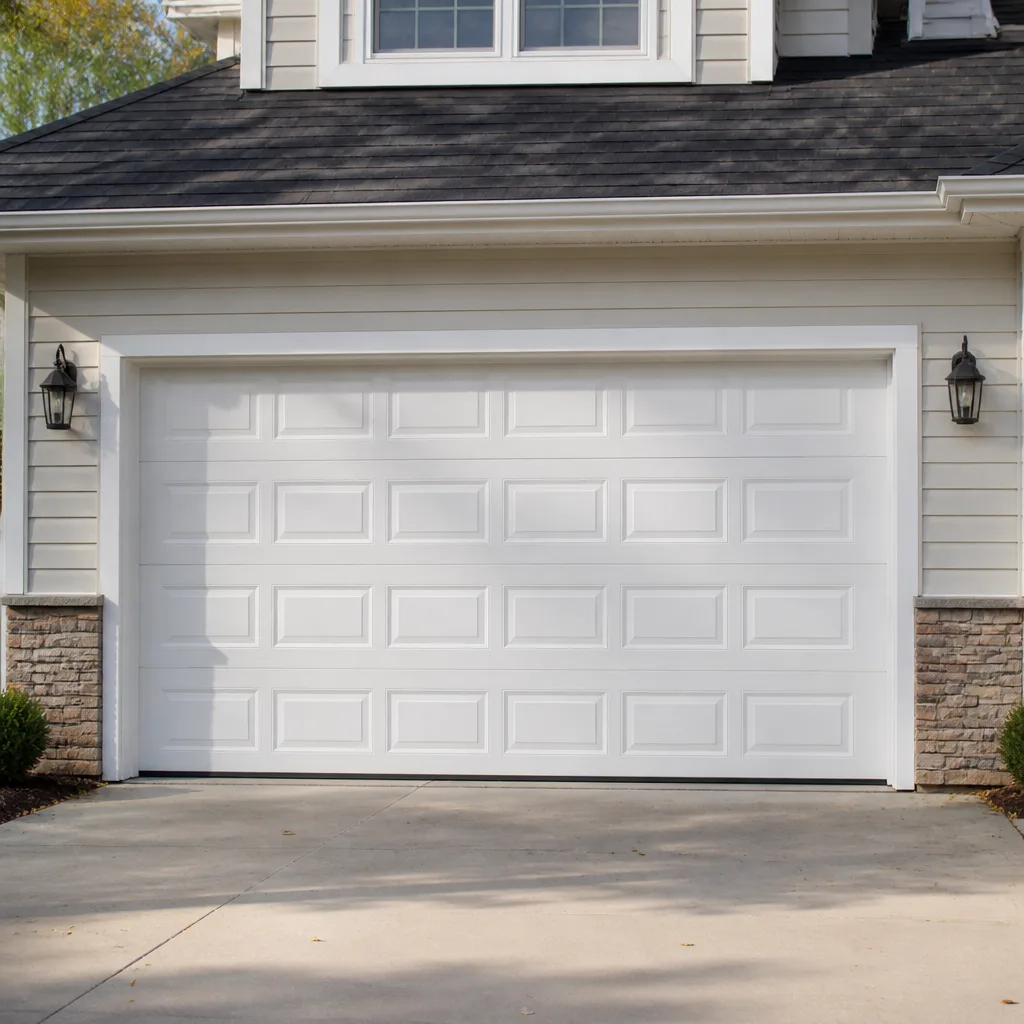 Raised-panel steel
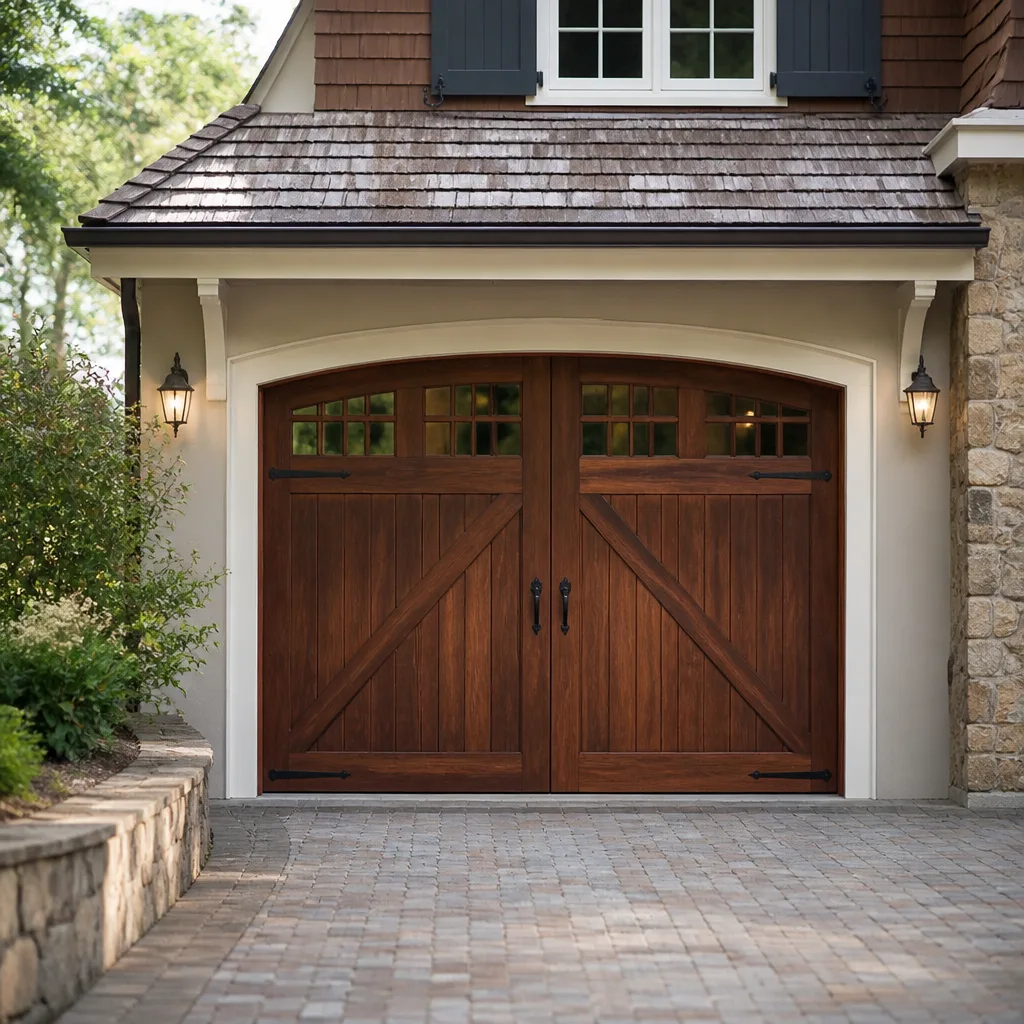 Carriage house
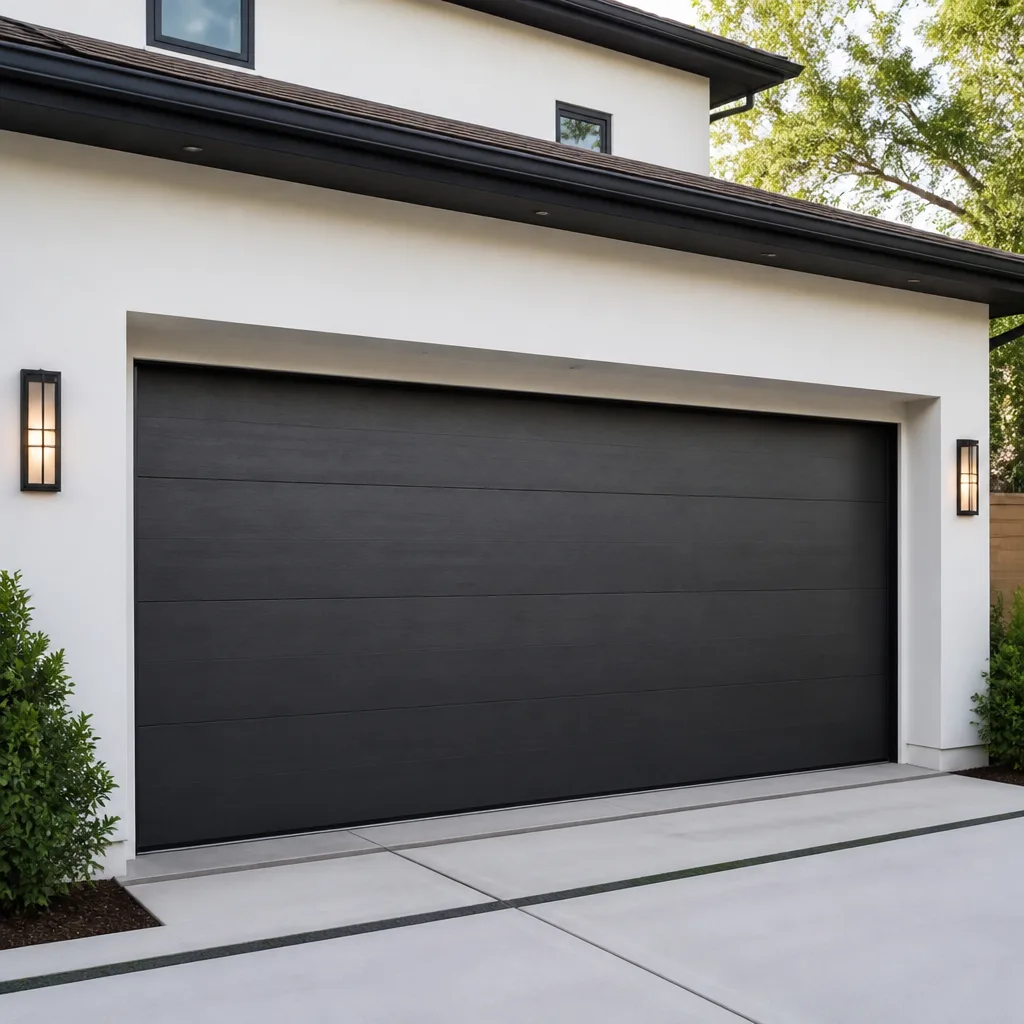 Modern flush
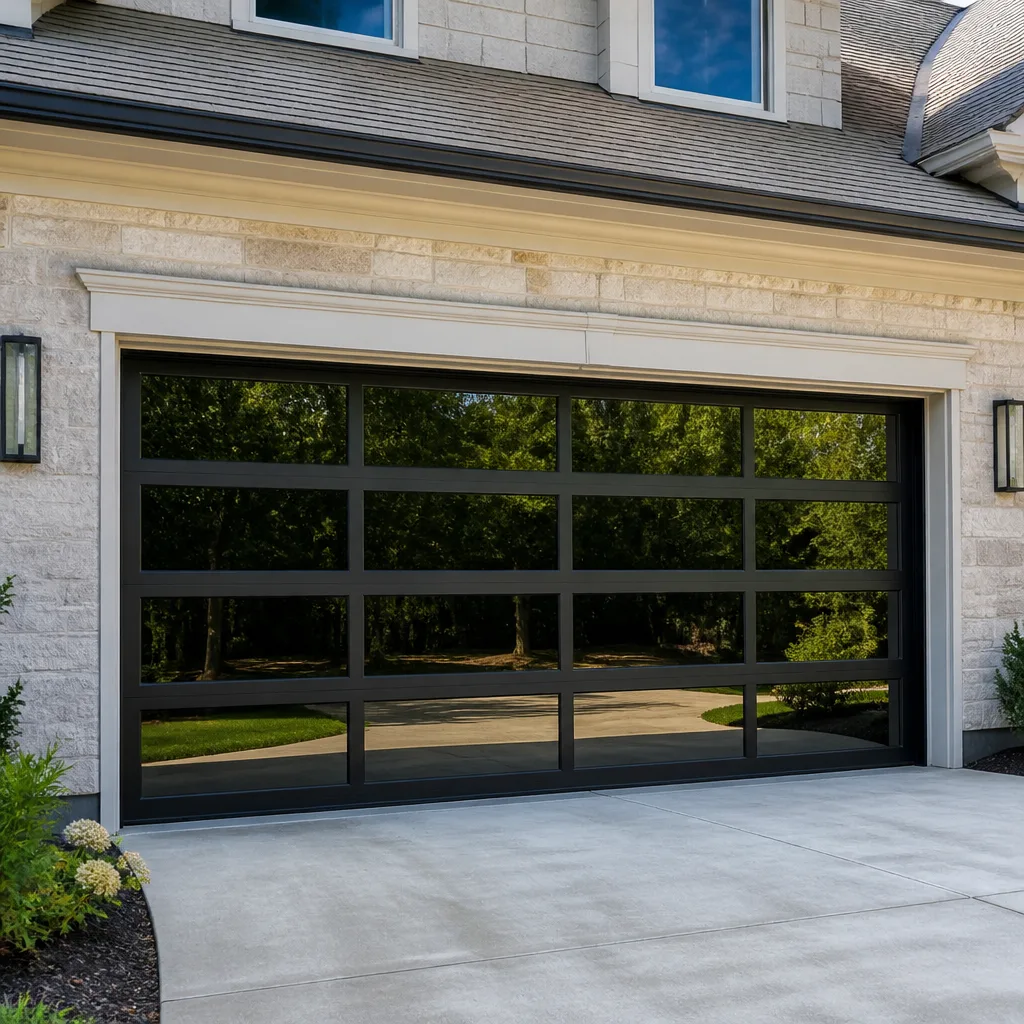 Full-view glass
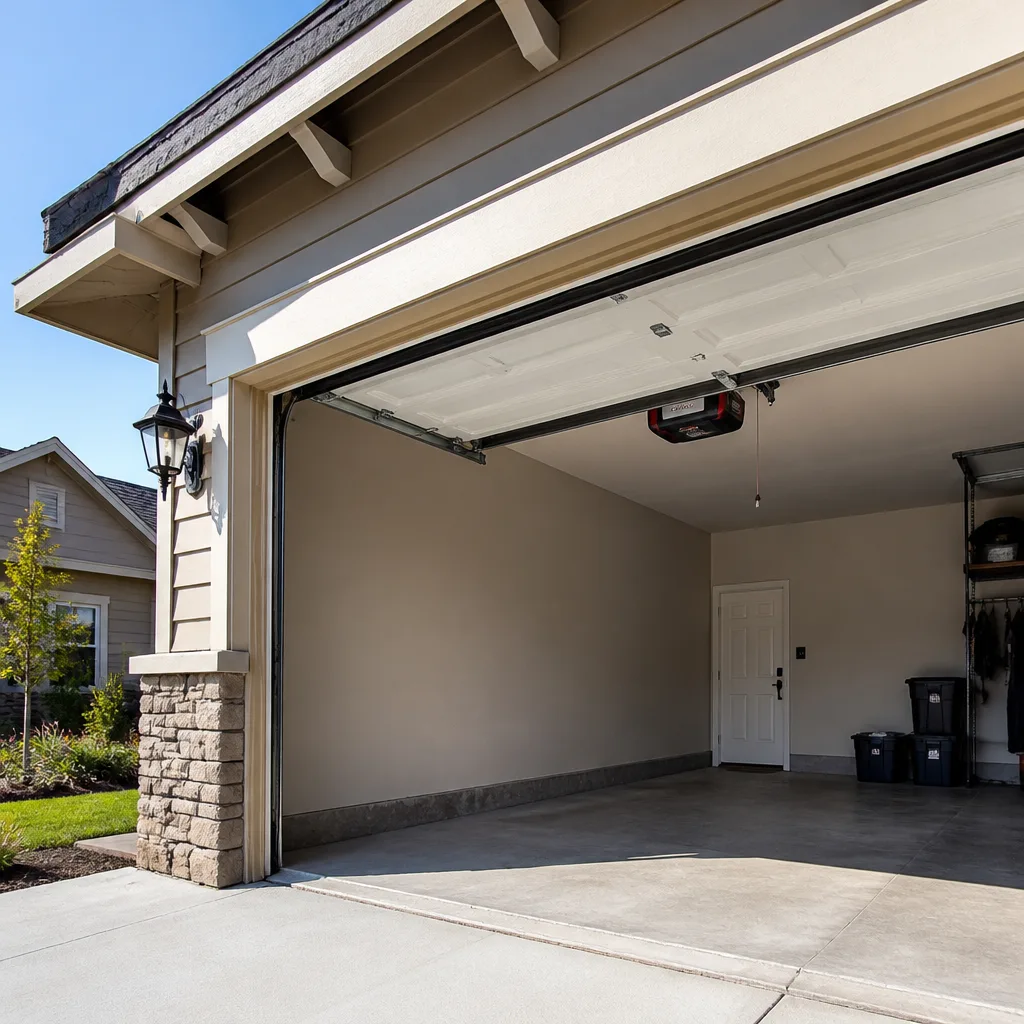 LiftMaster openers
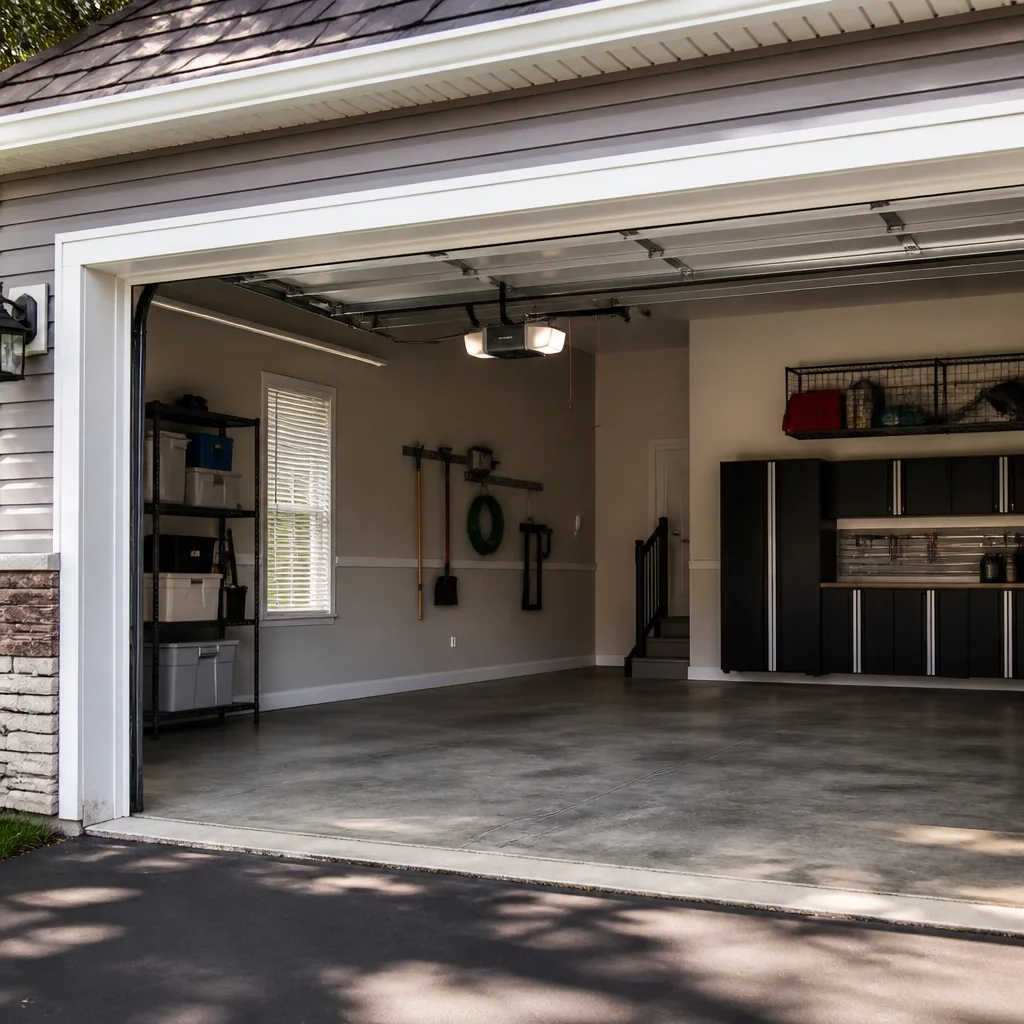 Chamberlain openers
Full 25-point door and opener safety check with every visit - springs, cables, rollers, tracks, and your LiftMaster or Chamberlain opener included
You get a price before we start. It does not change when the pro arrives.
Get your free estimateGarage Door Repair Maintenance Checklist for Northeast Minneapolis Homeowners
The two months when garage doors in Northeast Minneapolis fail most often aren’t January and February. They’re March and November, when the swing between daytime highs and overnight lows regularly pushes past 30°F and every component on the door cycles through expansion, contraction, and stress it was never designed to repeat day after day. A door that survived a cold snap can still crack a torsion spring the week the thaw arrives. This guide covers the maintenance tasks that actually matter for Northeast Minneapolis housing stock and weather, when to do them on a climate calendar rather than a generic quarterly schedule, and what to log so a technician can diagnose a problem faster. You’ll also find the checks you can safely do yourself and the ones you should hand off.
Quick Answer
A workable garage door maintenance checklist for Northeast Minneapolis means lubricating hinges and rollers in the spring and fall temperature bands, inspecting the bottom weatherseal before freeze-up, doing a tool-free torsion spring visual check monthly, testing opener force and auto-reverse every month, and keeping a written maintenance log. Most tasks take ten to fifteen minutes. The one piece you shouldn’t touch is spring adjustment or replacement, which is a trained-technician job.
Styles & brands we work with
- Raised-panel steel
- Carriage house
- Modern flush
- Full-view glass
- LiftMaster openers
- Chamberlain openers
Table of Contents
- Why Northeast Minneapolis Garage Doors Fail on a Climate Calendar
- The Lubrication Schedule Tied to Minneapolis Temperature Bands
- Inspecting the Bottom Weatherseal Before Freeze-Up
- Torsion Spring Visual Inspection Without Tools
- Opener Force and Auto-Reverse Test: Pass/Fail Criteria
- Building a Maintenance Log That Helps a Technician
- The Monthly Walkaround: A Step-by-Step Routine
- Common Mistakes to Avoid
Why Northeast Minneapolis Garage Doors Fail on a Climate Calendar
Garage doors here live through a wider annual temperature range than most of the country’s garage door advice was written for. A February cold stretch and a July afternoon can sit more than 100°F apart, and the shoulder months swing wildly within a single week. Metal tracks, hinges, springs, and opener gears each expand and contract at a different rate. Multiply that across hundreds of open-and-close cycles a year and the wear pattern is distinct from what a mild-climate schedule anticipates.
Those cycles concentrate in the transitions. March brings repeated freeze-thaw as daytime snowmelt runs into a door bottom and refreezes overnight, and November brings the first hard temperature drops that turn a tired weatherseal brittle before the real cold arrives. In our experience working on older housing throughout Northeast Minneapolis, from the two-story homes off Central Avenue to the brick foursquares near Columbia Park, the doors that break down first are rarely the oldest ones. They’re the ones nobody looked at during those two shoulder seasons.
What does a real maintenance year look like here? It’s not an even quarterly split. The heaviest attention belongs in the shoulders.
- Late winter (February – March): Post-cold inspection, especially the spring, cables, and weatherseal after the freeze-thaw cycle.
- Spring (April – May): First lubrication round once temperatures stay reliably above freezing.
- Summer (June – August): Monthly opener force test and visual walkaround. Heat stresses opener motors and gears.
- Fall (September – October): Second lubrication round and a full weatherseal inspection before the first hard freeze.
- Pre-winter (November): Final checks and a look at the tracks for any debris or movement a freeze could lock into place.
The point isn’t to add busywork. It’s that a Minnehaha winter punishes a neglected door, and a checklist timed to the actual climate catches the small failures before they become the reason the car is stuck.
The Lubrication Schedule Tied to Minneapolis Temperature Bands
“Twice a year” is the standard advice, and it’s not wrong, but it treats every climate the same. In Northeast Minneapolis the useful rule is to lubricate when the temperature band is stable, not when a calendar quarter flips. Cold contracts and stiffens, heat expands and thins lubricants, and the worst time to apply grease is right as the seasons are tearing through their biggest swings.
Here’s the band-based approach we recommend:
- Spring round, when overnight lows stay above 40°F. Clean each hinge and roller off first, then apply a dedicated garage door lubricant, not general-purpose oil or WD-40, which attract grit and dry out.
- Fall round, before overnight lows drop below 40°F. This is the more important round for this climate. Grease applied before the cold sets keeps the rollers and hinges moving freely when everything else stiffens.
- Skip the deep-freeze window. Between roughly December and February, avoid fresh lubricant on exterior hardware. It thickens and can trap grit, and cold weather work on a door is harder to do safely.
- Spot-check after any dramatic swing. If a week jumps 30°F or more, listen to the door on its next few cycles. A new squeak or a heavy-feeling roller is a cue, not a nuisance.
Where do you apply it? A few drops at each hinge pivot, a light film on steel rollers and the roller stems, and the torsion spring itself. Use a spray designed for springs, the kind that goes on wet and settles into a film rather than running off. Avoid painting the surface of the torsion spring with heavy grease; a proper spring lubricant is what the manufacturer calls for. If your door runs on a chain-drive opener with a LiftMaster or Chamberlain unit, follow its manual for the rail and chain, but the door hardware handles the same way regardless of brand.
The reason the schedule matters ties back to the climate. A door that’s stiff in March because nobody lubricated it in the fall is a door working harder, and the parts that break when the door works harder are the ones you can’t see. Still, most of what you’ll spray and wipe is standard maintenance. Anything wrong inside a spring, cable, or track adjustment is where a garage door specialist takes over.
Inspecting the Bottom Weatherseal Before Freeze-Up
This is the component most homeowners skip, and it’s the one that decides whether a Northeast Minneapolis garage stays dry and draft-sealed through the winter. The bottom weatherseal is the rubber or vinyl strip along the door’s bottom edge. It contacts the floor, blocks snowmelt, drafts, and vermin, and takes the most punishment of any part of the door.
In this climate the seal is asked to do a specific job: keeping the freeze out of the door-to-floor gap. When it degrades, that gap becomes the place water pools, refreezes, and lifts, and where cold air gets in and frosts the door. A brittle, cracked, or detached seal isn’t a comfort issue. It’s a spot where the door’s operation degrades over the season.
Do this inspection in late September or early October, before the first hard freeze. No tools needed:
- Look along the bottom edge in good light. Cracks, flattening, missing chunks, or a seal that’s separated from the door are all failure signs.
- Look for a gap of daylight between the bottom seal and the floor. A visible sliver of light is a gap even if the seal looks intact.
- Press the seal gently. If it’s stiff, crumbly, or doesn’t spring back, it’s gone brittle.
- Check the sides and top of the door too. The perimeter seals are separate strips and wear on the same timetable. Run your hand along them without tools.
- Note what you find in your log. A gap specified to the inch helps a technician know what to bring.
Replacing a bottom weatherseal is a job most homeowners won’t want to take on because the correct replacement is door-specific, and a poor fit leaves a gap. With a bit of brand knowledge it becomes straightforward. Doors on a Clopay, Amarr, Wayne Dalton, or Raynor system use seals sized to their track and panel profiles, and the technician who knows the manufacturer reliably gets the right one on the first try.
Torsion Spring Visual Inspection Without Tools
The torsion spring is the most safety-critical part of any garage door. It holds the door’s full weight under heavy tension. A broken spring, or a worn one about to break, is a genuine hazard. What we’re describing here is a look, done from the floor, with nothing but your eyes. Never touch a spring, never put hands or tools anywhere near it, and never try to adjust the springs yourself. Those who do end up hurt.
Here’s the safe visual check, done monthly and again after any temperature drop over 25°F:
- Stand at floor level and look at the spring assembly. On most doors it’s a horizontal coil across the top of the opening.
- Check for a visible gap or separation in the coil. A broken torsion spring often shows a distinct gap where the coil has split.
- Look for rust and any sign of metal fatigue. A rusty, tired-looking spring is a candidate for failure.
- Check the cables for fraying, sagging, or irregular winding. Don’t try to adjust them. Note what you see and call.
- Notice if the door feels wrong. If it drops hard, slams, or won’t stay open, stop using it and call for spring repair.
Spring failure is common in this climate precisely because of the temperature cycle. Tension that’s correct in July is loaded differently in January, and the constant load-and-release across hundreds of cycles a year takes the spring toward failure. That’s also why spring repair is a dedicated service most general handymen decline. It’s technical, it’s safety-sensitive, and it’s best done by a specialist with the tools and the training. One more thing: a spring price is quoted per spring. If a matched pair is replaced together, as is usually the case, expect the pair to be about double the single-spring figure. The written estimate always sets the final price, and that estimate is free.
Opener Force and Auto-Reverse Test: Pass/Fail Criteria
Your opener’s safety system has one job: stop the door and reverse it if something is in the way. It needs testing every month, and most homeowners never do it. The test takes two minutes and tells you, in plain pass/fail terms, whether the door is safe to operate. Both LiftMaster and Chamberlain openers use the same basic test, and so do most Craftsman and Genie units, so the procedure transfers.
The auto-reverse test:
- Place a solid object, like a 2×4 laid flat, on the floor in the door’s path.
- Close the door. The door must reverse and open when it contacts the object.
- Pass: the door reverses within a few inches of contacting the object. Fail: the door pushes into the object, stalls, or doesn’t reverse. If it fails, stop and call for repair. Do not keep cycling the door.
The force test:
- Open the door, then close it. Use the wall button or remote, and stand clear.
- While fully closing, catch the door’s bottom edge with your hand as it nears the floor. The door should reverse on contact with light pressure.
- Pass: the door reverses with little resistance. Fail: the door continues down or needs a hard push to reverse. A door that fails the force test will not auto-reverse reliably.
The reason this matters in a Northeast Minneapolis context is the cycle count. A door that runs twice a day through two seasons of extreme weather is doing a lot of work. If the force setting is drifting, every close is a risk. Don’t adjust force limits yourself unless you know how; on most openers it’s a small dial or a menu setting, and a misadjusted limit turns a safety feature into a hazard. If the door fails either test, that’s a call for a specialist who knows your opener model.
Building a Maintenance Log That Helps a Technician
A maintenance log is the difference between “the door’s been acting up” and a fast, accurate repair. Most checklists tell you to keep a record. Few explain what makes one useful. The log’s job is to hand a technician a short history so they can diagnose the door’s behavior instead of spending the first visit on discovery.
What actually helps:
- Record the door’s brand and opener model once, at the top. A Craftsman, Raynor, LiftMaster, or Chamberlain opener tells the technician a lot before they arrive. Note the model number plate, usually on the opener housing.
- Log each lubrication round with the date. That’s the biggest clue to whether the door’s been maintained or is running dry.
- Log each spring inspection as “pass” or “noted rust,” with the date and what you saw.
- Log the auto-reverse and force test results monthly as pass/fail.
- Note any new noise, slowdown, or hesitation with the date it started. “Door feels heavier since the 15th” is genuinely useful. A specialist uses that detail to distinguish a worn roller from a tired spring or a failing opener.
- Keep receipts for any replacement parts. A door’s history of what’s been replaced tells a technician what’s still original.
A small notebook taped to the inside wall, or a running note on your phone, works fine. The strength of the log is consistency. The pattern from a few months of notes often points straight at the failing part. When a technician has that pattern before anyone visits, the repair starts faster. That’s what garage door repair looks like when the door speaks for itself.
The Monthly Walkaround: A Step-by-Step Routine
Between the seasonal jobs there’s a short monthly routine that catches most problems early. Ten to fifteen minutes, no tools beyond a step ladder and a flashlight, and it covers the whole door. Run it once a month, and again after any big temperature swing.
- Look at the tracks from the floor. Check for dents, debris, or any track that looks out of alignment. Don’t try to bend a track back yourself.
- Lubricate on schedule. In the spring and fall rounds, hit the hinges, rollers, and spring as described. In the deep-freeze months, skip new lubricant.
- Listen to the door cycle. A grinding, scraping, or banging noise is information. Note it and the date.
- Check the safety sensors. The two little lights at the base of the door should both be on. If one’s off or flickering, the opener won’t close the door reliably.
- Run the auto-reverse test and the force test. Log pass or fail.
- Inspect the weatherseal and note any gap or cracking. Escalate before freeze-up.
- Check the spring visually from a safe distance, then put the door through one clean open-close cycle. If anything feels different, log it.
Done monthly, this routine catches nearly everything the door’s trying to tell you. When the door fails outright, a Northeast Minneapolis garage door specialist is the right call, and it’s a genuine capability, not a promise. garage door opener repair and spring work are both things we offer, and every technician we connect you with is a garage door technician, not a generalist splitting attention across trades. If it’s the door itself that needs replacing, garage door installation starts with a free measure and a written price.
Common Mistakes to Avoid
- Lubricating on a fixed calendar instead of a temperature band. “Twice a year” applied blindly can land your grease in deep-freeze weather, where it thickens and traps grit. Time the rounds to the 40°F thresholds instead.
- Skipping the bottom weatherseal. It’s the single most neglected component and the one most exposed to Northeast Minneapolis freeze-thaw. A failing seal lets in snowmelt and cold that stress the whole door.
- Trying to adjust springs. Torsion springs carry dangerous tension. Every professional spring job is done with tools and training. Homeowners should look, log, and call.
- Ignoring a failing auto-reverse or force test. A door that doesn’t reverse on contact is unsafe. A fail is a stop-and-call signal, not a notification to keep going.
- Waiting for the freeze before checking the seal. By the time the ice locks onto a brittle seal it’s harder to fix. Do the inspection before the first hard freeze.
- Keeping no maintenance record. A door with no history means a technician spends the first visit on discovery. A log that names the opener brand and tracks what’s been replaced pays for itself at the repair.
- Choosing a generalist for spring work. A spring is a specialist job most general handymen decline. For a safety-critical part, choose a garage door specialist.
See the difference
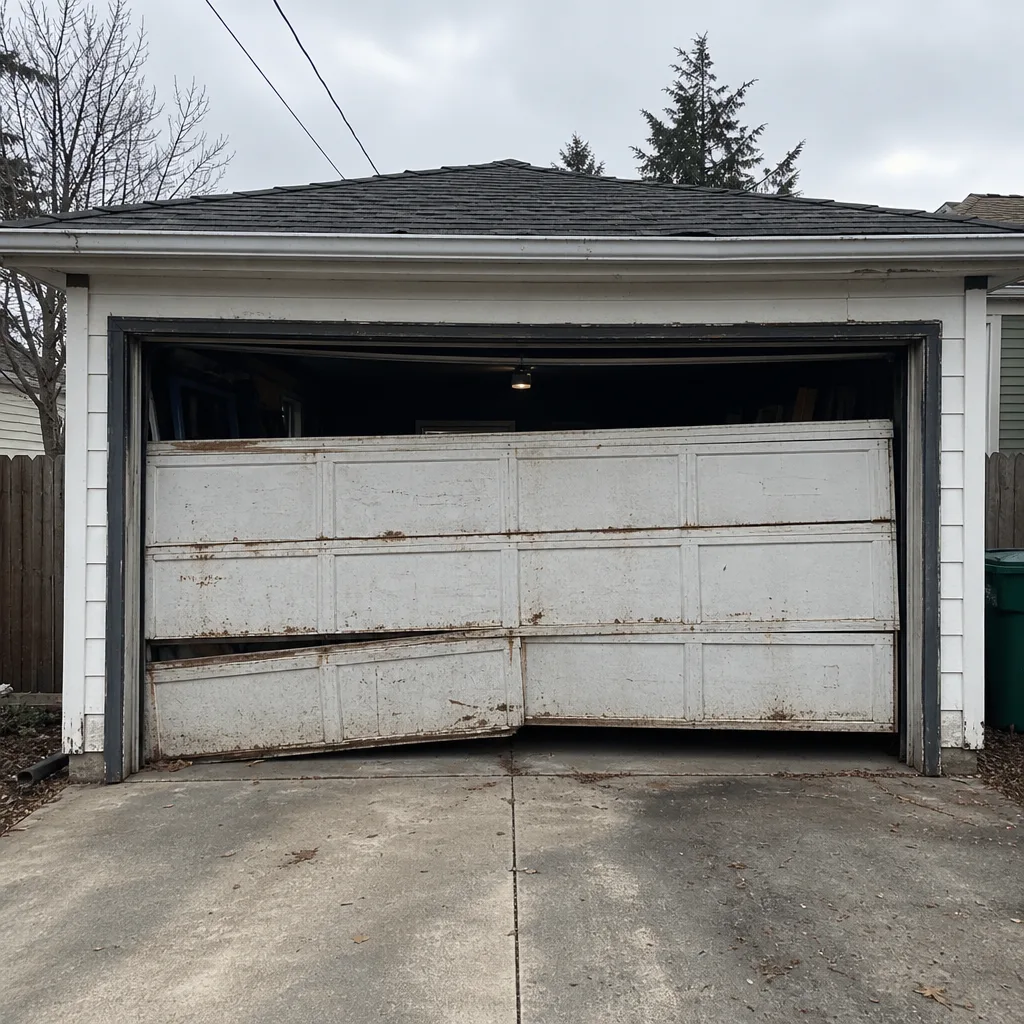 Before
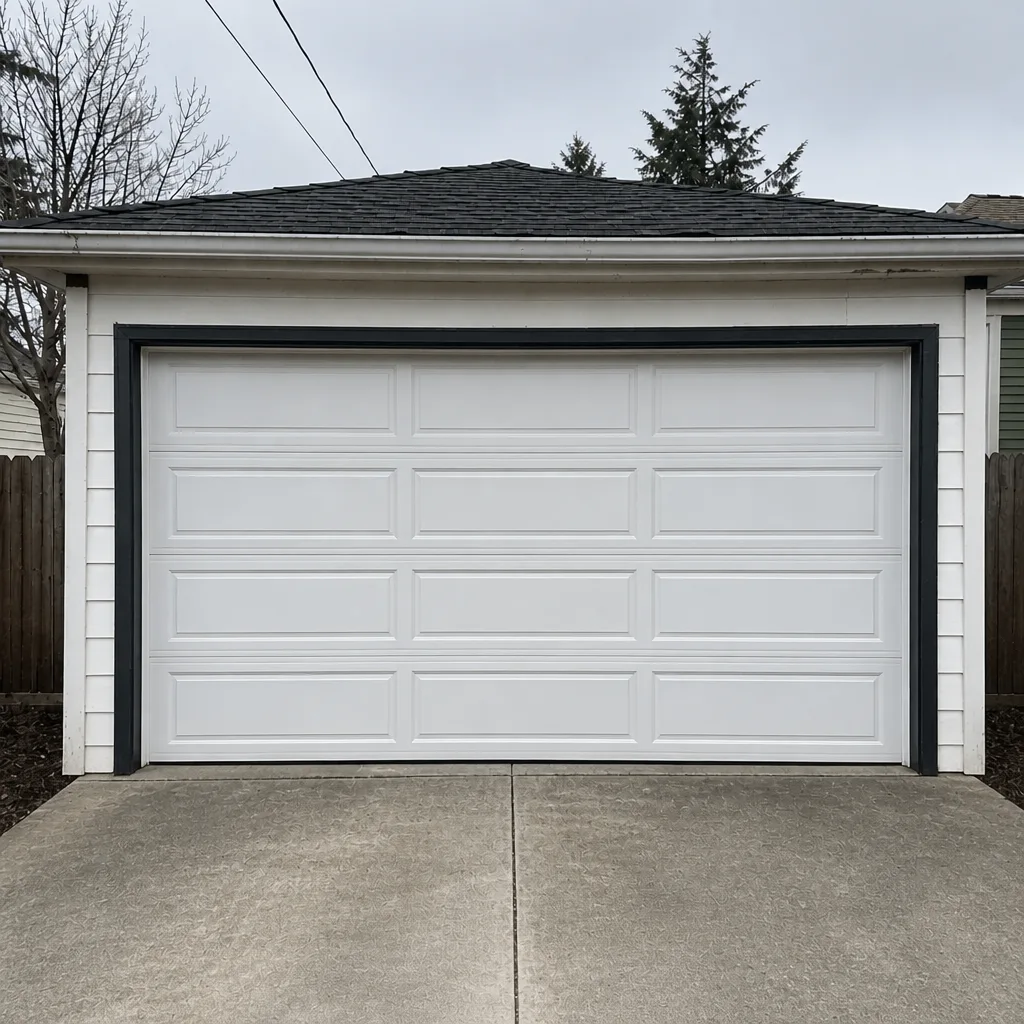 After
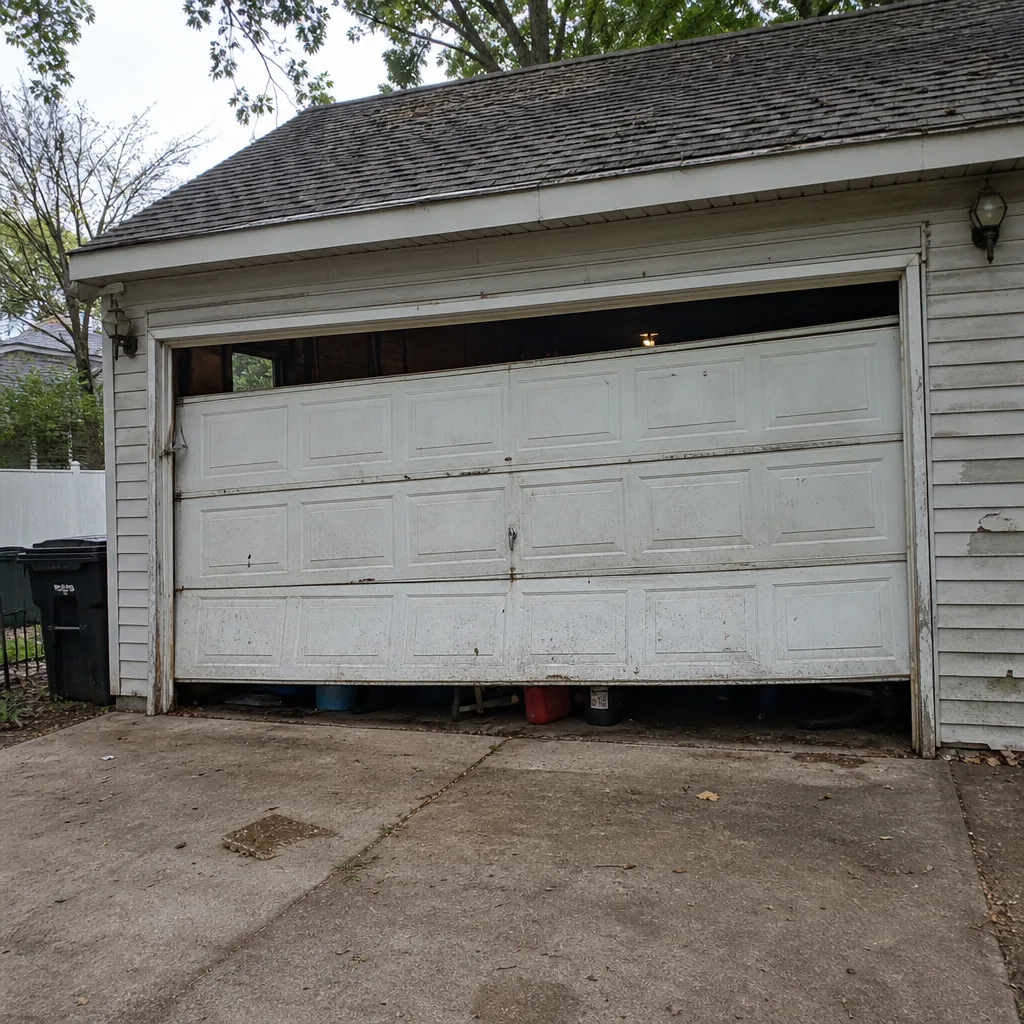 Before
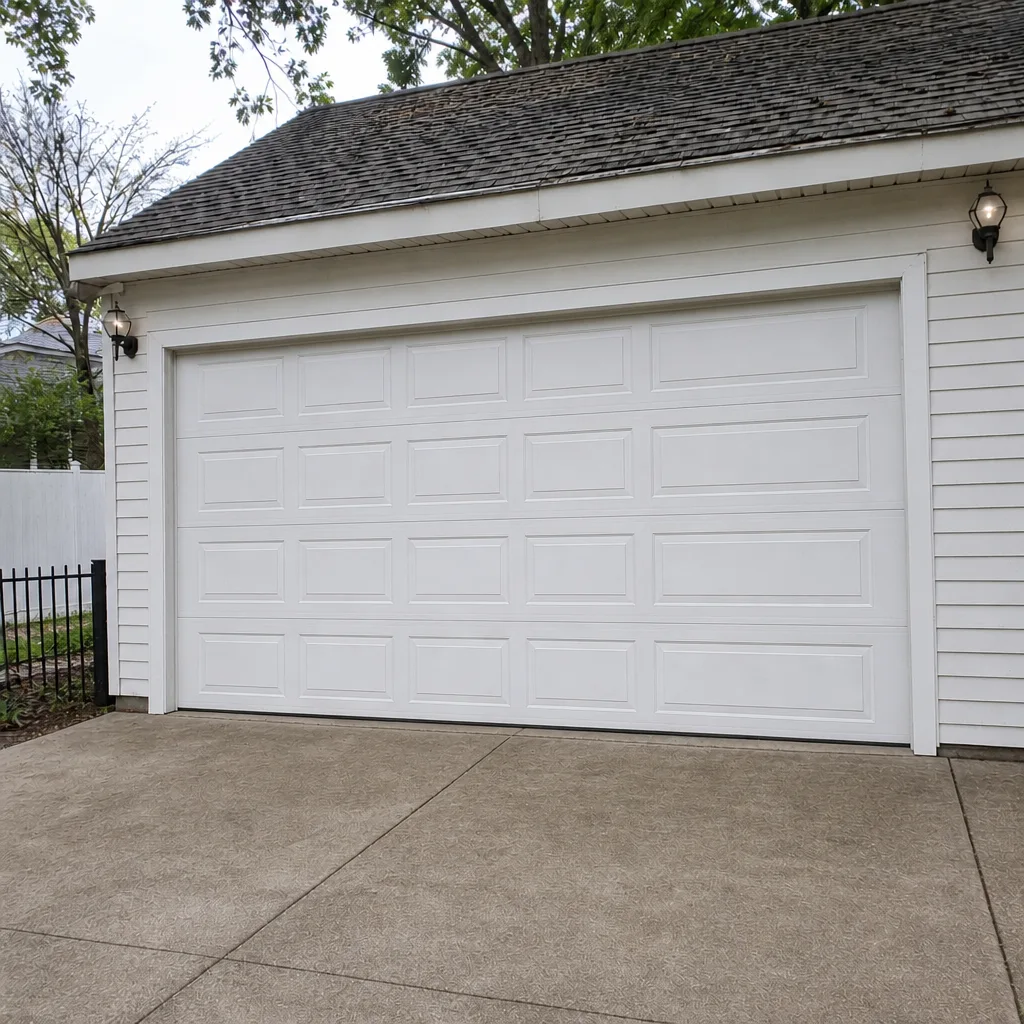 After
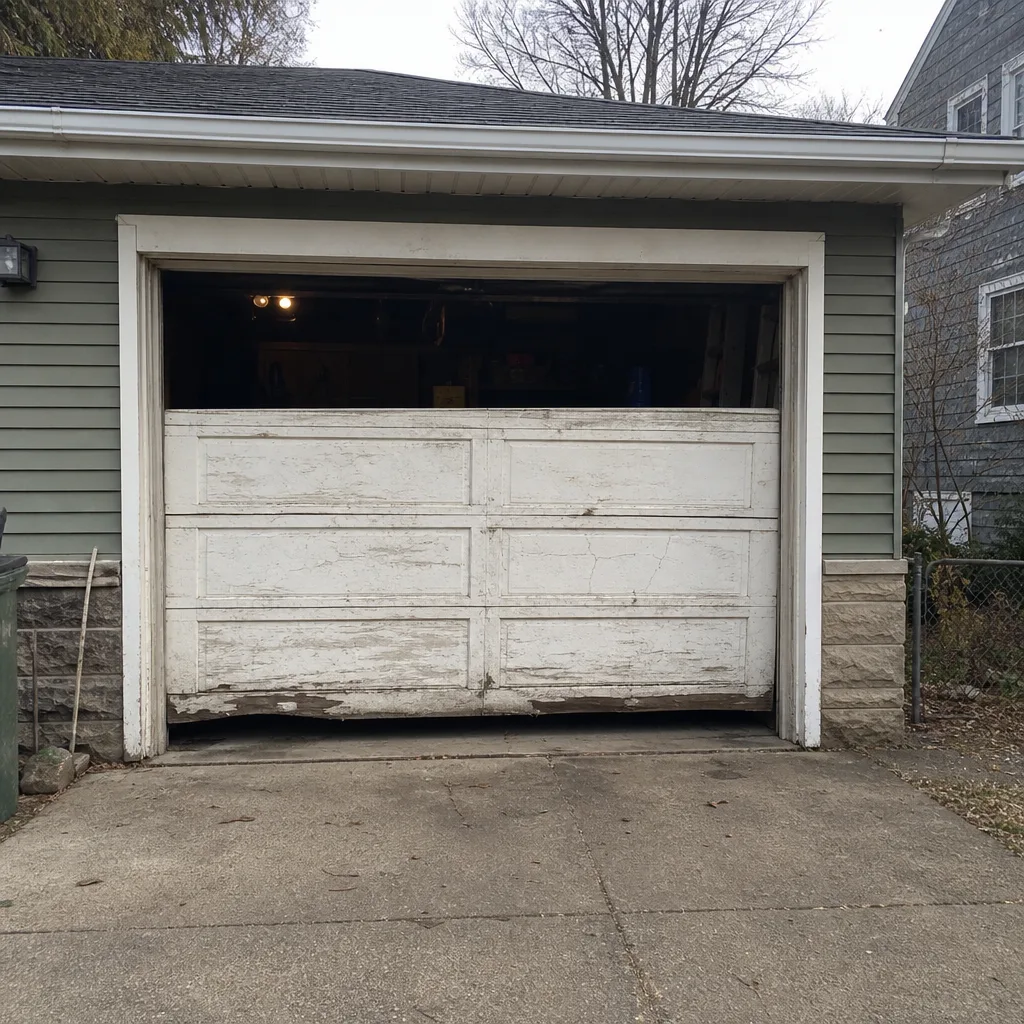 Before
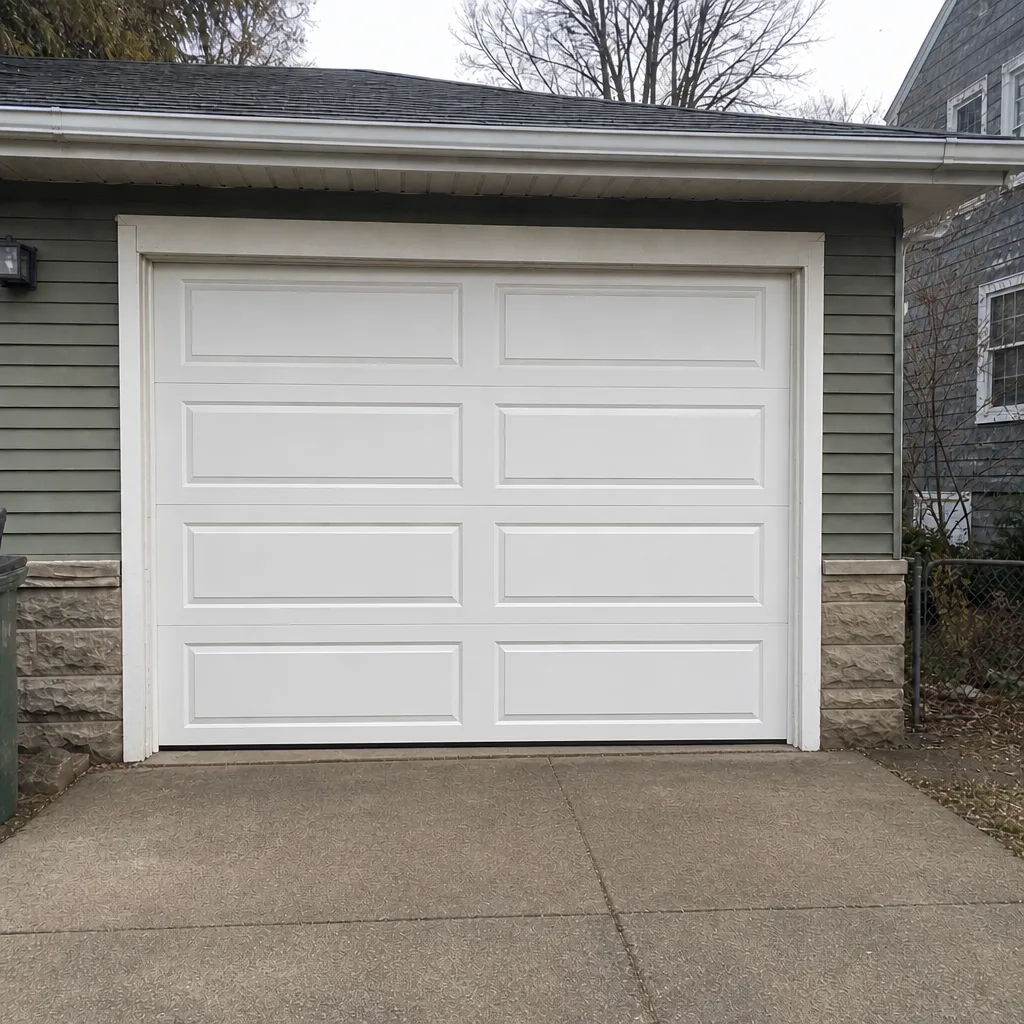 After
When to Call a Professional
Some jobs belong in the checklist. Others belong on the phone. Call a professional when the torsion spring shows a gap or the door drops hard; when a cable is frayed, sagging, or irregularly wound; when the auto-reverse or force test fails; when the door won’t close flat or looks misaligned; or when the opener won’t respond, stops mid-cycle, or reverses for no reason. Call when the weatherseal has failed completely and you want the right replacement to fit the door. And call immediately when the door is stuck open or a car is trapped.
Garage Door Repair Northeast Minneapolis offers free estimates in Northeast Minneapolis. Call (844) 888-9545. We answer 24/7. Fast dispatch from 7am to 7pm, Sunday through Friday. The price is quoted and agreed before any work starts, and the written estimate sets the final price.
Frequently Asked Questions
Twice a year, timed to the 40°F temperature band: one round in spring once overnight lows stay above 40°F, and one in fall before they drop below it. That’s the schedule the climate here actually asks for, and the fall round is the more important of the two. A middle-of-summer deep-clean is optional. Skip fresh lubricant during the deep-freeze months.
The torsion spring visual check and the auto-reverse test, because both are safety-critical. The spring check is eyes-only, done monthly and after any big temperature drop. The auto-reverse test is done monthly and logged pass or fail. If either one shows a problem, stop using the door and call for a specialist.
Look for a visible gap or separation in the coil, and check whether the door feels abnormally heavy or slams when it moves. A broken torsion spring often shows a distinct split, and the door becomes very hard to lift. Never touch the spring. If you see a gap or the door feels wrong, call for spring repair.
Yes, inspect it in late September or early October and replace it before the first hard freeze if it’s cracked, flat, or has a visible gap. In this climate the door bottom takes the brunt of freeze-thaw, and a failing seal lets in snowmelt and cold. The correct seal is door-specific, so matching the right one matters.
You can safely do the lubrication, the weatherseal inspection, the monthly walkaround, the auto-reverse and force tests, and the spring visual check. You shouldn’t adjust or replace springs, cables, or track alignment; those are specialist work, and spring work is a trained-technician job every time. The checks keep you aware; the repairs go to a specialist.
Check the power, the wall button, and the safety sensors first, then call if the door still won’t move. A garage door specialist who knows your opener brand quickly works through the likely causes, whether it’s a Craftsman, LiftMaster, Chamberlain, or Genie unit. Call (844) 888-9545. We answer 24/7. Fast dispatch from 7am to 7pm, Sunday through Friday.
The Bottom Line
A good garage door maintenance checklist for Northeast Minneapolis is built around the climate, not a generic calendar. Lubricate at the 40°F bands, inspect the weatherseal before the first freeze, do a tool-free spring check monthly, test the auto-reverse and force functions monthly, and keep a log that names your door and opener brands. The March and November transitions are when this housing stock sees the most door trouble, so that’s when attention pays off. Do the safe checks yourself, log what you find, and hand spring, cable, and track work to a garage door specialist. A checklist you actually follow is the cheapest repair you’ll ever make. For free estimates in Northeast Minneapolis, call (844) 888-9545. We answer 24/7. Fast dispatch from 7am to 7pm, Sunday through Friday. Our technicians have up to 12 years of experience.
Written by the team at Garage Door Repair Northeast Minneapolis.